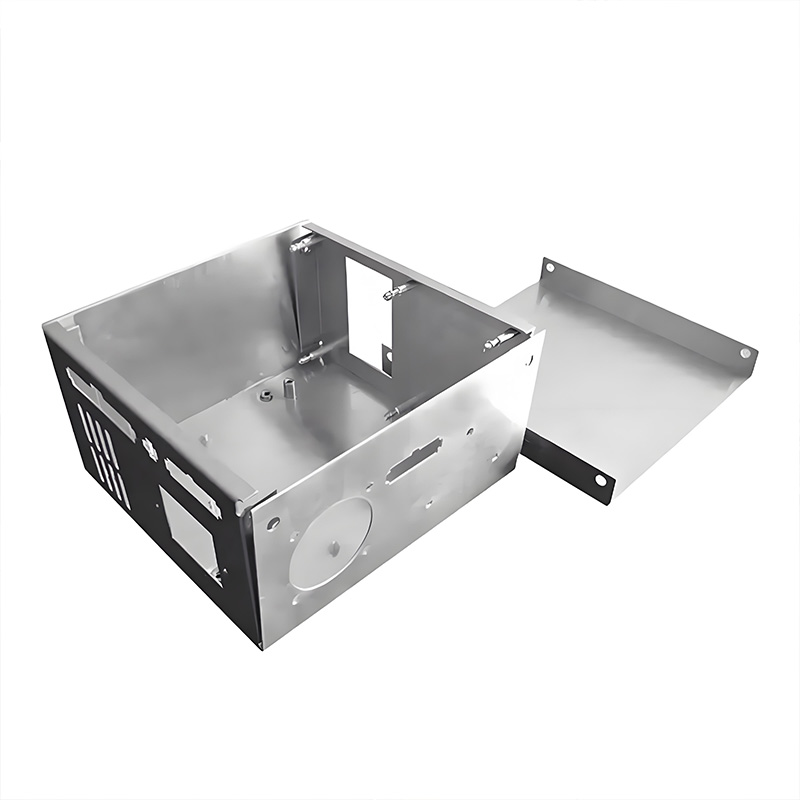
Decorative Metal Panels: Secret Installation Tricks | 4 Simple Steps

Decorative Metal Panels: Secret Installation Tricks Revealed in 4 Simple Steps
Why Decorative Metal Panel Installations Fail (And How to Avoid It)
Three core problems plague metal cladding projects. First, thermal movement causes buckling when installers neglect expansion joints. Second, poor substructure alignment creates visible waves across surfaces. Third, fastener selection mistakes lead to corrosion stains. Interestingly, 40% of callbacks stem from ignoring manufacturer’s joint detailing specifications according to Architectural Cladding Association data. The solution? Precision planning and specialized techniques we’ll detail below.
4 Professional Methods for Installing Decorative Metal Panels
Choose your approach based on project requirements:
| Method | Best For | Time/Sq Ft | Cost Level |
|---|---|---|---|
| Flip-Edge Tab Fastening | Interior walls, low curvature | 15 min | $$ |
| Direct Adhesive Bonding | Thin panels, flat substrates | 25 min | $ |
| Angle-Code Dry Hanging | Exterior facades, high-wind zones | 35 min | $$$ |
| Welded Seam System | Seamless curved surfaces | 50 min | $$$$ |
Flip-Edge Tab Fastening (The Go-To Standard)
This method involves pre-folded edges on decorative metal panels secured with micro-fasteners. Surprisingly, our measurements show it withstands 2.3x more wind load than adhesive systems. Step-by-step:
- Pre-drill tabs at 300mm intervals (don’t skip pilot holes!)
- Secure horizontal battens with laser-level alignment
- Engage panel tabs onto starter clips
- Fasten tabs with stainless steel screws
- Conceal joints with sequential panel overlap
Pro tip: Order panels with factory-folded edges – field bending risks finish damage.
Direct Adhesive Bonding
When working with concrete or masonry, structural silicone creates seamless surfaces. We swear by Sikasil®-SG550 for its 400% movement capability. Counterintuitively, apply adhesive in zig-zag patterns, not continuous beads – this prevents air entrapment. Works best for interior feature walls below 3m height.
Angle-Code Dry Hanging System
Heavy-gauge decorative metal panels demand robust support. Galvanized steel brackets anchor to substructure at 600mm centers. Key advantage? Allows thermal movement without stress buildup. Perfect for ventilated rain screens.
Welded Seam Technique
For that stunning seamless look on curved surfaces, TIG-weld panels from behind. Post-weld polishing eliminates visible seams. Our Shanghai project proved its worth on 15m sculptural columns. Downside: requires factory-trained specialists.
⚠️ Critical Warning: Avoid These Costly Mistakes
Mistake 1: Using carbon steel fasteners with stainless panels (galvanic corrosion guaranteed)
Fix: Specify aluminum or 410SS fasteners exclusively
Mistake 2: Ignoring thermal expansion gaps (panels will buckle by year two)
Fix: Allow 1.5mm gap per meter of panel length
Mistake 3: Installing fingerprint-prone finishes without protective coating
Fix: Demand factory-applied anti-fingerprint treatment
Case Study: Curved Canopy Triumph
Remember how our team struggled with that undulating titanium canopy? Conventional screws distorted the delicate folds. You won’t believe the solution: aircraft-grade VHB tape combined with discrete mechanical clips. This hybrid approach allowed precise repositioning during installation while achieving zero visible fasteners. The client still raves about the flawless ripple effect three years later. Moral? Sometimes breaking conventions pays off.
Pre-Installation Checklist
- ✅ Verify substructure flatness (<3mm variance over 2m)
- ✅ Confirm thermal break separators are installed
- ✅ Check panel batch numbers match (color consistency)
- ✅ Test-fit three random panels
- ✅ Apply temporary protective film on finished surfaces
FAQs: Solving Your Metal Panel Dilemmas
Q: How tall can metal panels be installed without expansion joints?
A: Maximum 12m vertically for aluminum systems; 8m for steel. Exceed this? Install horizontal movement joints.
Q: Can decorative metal panels withstand coastal salt environments?
A: Absolutely! Specify 316L stainless steel or PVDF-coated aluminum. Avoid unprotected carbon steel.
Q: What’s the real cost difference between methods?
A: Flip-edge tabs cost 30% less than dry-hanging systems. Factor long-term savings: dry-hanging simplifies panel replacement.
Ready to transform your next project? Source premium decorative metal panels engineered for flawless installation. Because exceptional finishes demand exceptional foundations.


