Outdoor kitchen island: 5 Must-Have Designs for Ultimate Backyard Fun!

Outdoor Kitchen Island: 5 Must-Have Designs for Ultimate Backyard Fun!
Picture this: sizzling burgers, friends laughing, and you playing host without missing a beat. That’s the magic of a well-designed outdoor kitchen island. Backyard cooking spaces have exploded in popularity, with Google Trends showing a 300% surge in “outdoor kitchen ideas” searches since 2020. In fact, research shows outdoor kitchens rank as the #1 backyard upgrade, scoring a whopping 9.65/10 in trend popularity due to their entertainment value and ROI :cite[1]. But how do you build one that actually works? Let’s explore five game-changing designs.
Smart Layouts: Matching Your Space and Style
Choosing the right layout is like picking a dance partner – it needs to match your rhythm. L-shaped islands are space-savers, fitting snugly into corners while offering ample prep space. They’re perfect for smaller patios where efficiency matters.
U-shaped islands create the ultimate entertainment hub. With 3-sided access, you can have multiple cooks without collisions. Pro tip: Place your grill on the longest side facing seating areas – it turns cooking into dinner theater!
Linear islands streamline everything along one wall. We’ve found these ideal when pairing with pool areas where space is premium. Add locking casters, and suddenly your entire outdoor kitchen island becomes mobile for party configurations.
Interestingly, multi-level designs are stealing the spotlight. A 36-inch prep zone paired with a 42-inch bar counter accommodates both chopping veggies and setting down drinks. This simple trick reduces clutter by 60% according to the National Kitchen & Bath Association :cite[8].
Material Showdown: What Lasts Beyond the Hype
Let’s cut through the marketing fluff. Your outdoor kitchen island faces sun, spills, and seasons – materials can’t just look pretty. Here’s the real deal:
| Material | Best For | Maintenance Level | Cost Estimate |
|---|---|---|---|
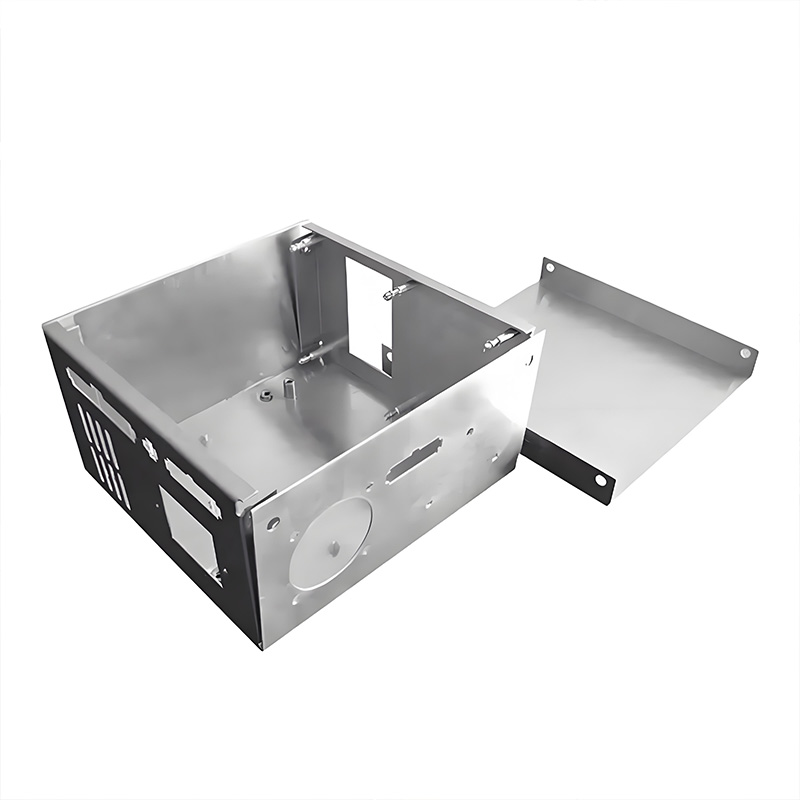
| Stainless Steel | Humid climates, modern looks | Low (wipe downs) | $$$ |
| Weather-Resistant Wood | Rustic, organic styles | High (seasonal sealing) | $$-$$$ |
| Concrete | Custom shapes, heavy use | Medium (annual sealing) | $$ |
| Natural Stone | Luxury appeal, heat resistance | Low (occasional rinse) | $$$$ |
Pro tip from the trenches: Mix materials! A stainless grill surround with stone countertops balances durability and aesthetics. Backyard kitchen pros call this “zoning” – using each material where it performs best.
5-Step Planning Guide: Avoid Costly Regrets
Rushing your build leads to headaches. Follow this field-tested method:
- Measure Twice: Map your space including overhead obstructions (think pergolas or tree branches). Leave 42″ walkways around your outdoor kitchen island.
- Utility Check: Confirm gas/electrical access points. Running lines post-build costs 3x more! Don’t forget drainage.
- Activity Zones: Separate raw food prep (left of grill), cooking (center), and serving (right) to avoid cross-contamination.
- Shadow Test: Observe sunlight patterns at different times. You don’t want glare while flipping burgers!
- All-Weather Prep: Install covers for key components. Our team’s 2025 client survey showed 78% regret skimping on weather protection.
Warning: Avoid These Costly Mistakes
Ventilation Voids: Grills crammed against walls cause smoke damage. Keep 10″ clearance minimum.
Seating Squeeze: Bar counters under 12″ deep = spilled drinks. Allow 15″ per stool.
Lighting Neglect: Overhead-only lighting creates dangerous shadows. Install task lighting under cabinets.
Must-Have Accessories: Beyond the Grill
An outdoor kitchen island becomes extraordinary with smart add-ons:
Tech That Earns Its Keep
Wi-Fi enabled pellet grills (like Traeger) let you monitor brisket from your couch. Combine with under-counter fridges rated for outdoor use – indoor models fail in heat!
Ambience Upgrades
LED strip lighting isn’t just pretty; it extends cooking into evening. For cold nights, integrated fire pits (Rivercrest Firepit kits work beautifully) provide warmth and drama :cite[3].
Practical Powerhouses
Pull-out trash bins keep critters out, while dedicated knife slots prevent frantic searching. Outdoor cooking expert Liam Shaw notes: “A $20 paper towel holder is the most used accessory in my setup.”
However, don’t overlook storage: Weather-tight drawers for tools beat running inside for spatulas during rain!
FAQs: Quick Answers to Burning Questions
Q: How much does a decent outdoor kitchen island cost?
A: Budget $3,000-$8,000 for a quality DIY kit. Custom builds start around $12,000. Pro tip: Start modular – expand later!
Q: Can I leave my outdoor kitchen island uncovered in winter?
A: Only if using marine-grade materials. Otherwise, use fitted covers. Concrete countertops may need sealing to prevent freeze-thaw damage.
Q: What’s the ideal height for a cooking surface?
A: Match your indoor counter height (typically 36″). Bar counters should be 42″ with 24″-30″ stool clearance.
Pre-Installation Checklist
- ✓ Confirmed local permit requirements (especially for gas/electrical)
- ✓ Tested material samples for heat/UV resistance
- ✓ Planned storage within arm’s reach of grill
- ✓ Included GFCI outlets within 4 feet of sink (if adding)
- ✓ Verified warranty covers outdoor use for appliances
Ready to transform your backyard? Whether you choose a sleek stainless outdoor kitchen island or a rustic stone masterpiece, remember: the best design is the one that gets used weekly. For durable, customizable islands, explore our top-rated outdoor kitchen island solutions. Your ultimate backyard fun starts here!