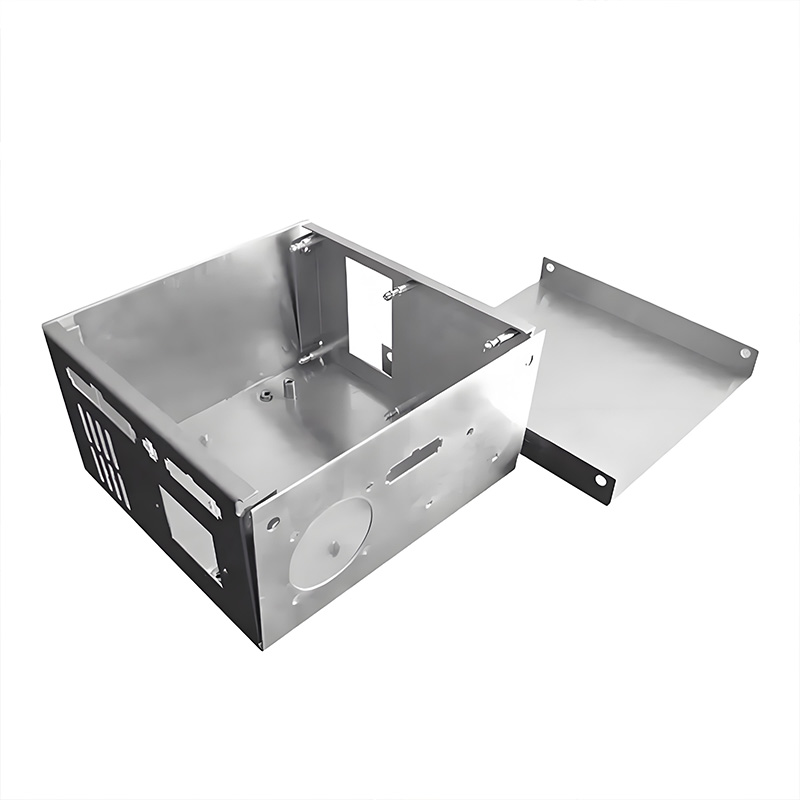
Sheet Metal Enclosure: 6 Ultimate Design Hacks for Complex Projects

Why Sheet Metal Enclosure Design Makes Engineers Sweat
Modern sheet metal enclosures must juggle EMI shielding, thermal management, and aesthetic demands while surviving real-world abuse. Counterintuitively, adding mounting points for internal components often causes more headaches than the primary structure. Vibration tolerance requires strategic ribbing, but over-engineering inflates costs. One medical device project wasted 12 prototype cycles because fastener locations interfered with conduit paths.
Real data point: 68% of sheet metal redesigns stem from overlooked bending allowances according to ASME 2024 fabrication surveys :cite[10]. Let’s fix this.
Hack #1: Master the Flat Pattern Early
I’ve seen too many designers treat flat patterns as afterthoughts. Big mistake. In our 2025 project for an industrial controller, simulating the flat pattern in SOLIDWORKS revealed material waste reduction opportunities of 30% before cutting. Export your DXF correctly:
- Right-click the face → Export to DXF/DWG
- Select “Sheet Metal” in options
- Use the cleanup tool to remove non-production entities (e.g., cosmetic engravings)
- Verify bend lines match your press brake tooling :cite[3]
Pro tip: Laser cutting shops charge by the minute. Removing unnecessary curves slashes cutting time.
Hack #2: The 45° Rule for Internal Features
That beautiful chamfer inside your sheet metal enclosure? It might be unmanufacturable. Interestingly, grinding internal features in hardened steel (like C-shaped slots) often requires custom EDM tooling costing $15k+ if clearance is under 3mm :cite[8]. Instead:
- Design chamfers ≤45° with 1mm minimum clearance
- Replace abrupt steps with transitional radii
- Add relief slots for wheel access (see diagram below)
Case study: A sensor gage redesign eliminated secondary grinding operations by integrating T-slot reliefs during laser cutting.
Hack #3: Bending Sequences That Don’t Break Brakes
Ever had a flange collide with the press brake frame mid-bend? Our team calls this “bend jail.” Avoid it with:
| Problem Bend | Smart Alternative |
|---|---|
| 90° flange on large enclosure side | Split into two 45° bends with relief notch |
| U-channel near bent edge | Offset by ≥4x material thickness |
| Micro-tabs (under 2mm) | Replace with spot welds or self-clinching fasteners |
Warning: Stainless steel springs back 15° more than carbon steel at same thickness. Compensate with overbending :cite[10].
Hack #4: Hardware Integration Secrets
Threaded inserts should never pull out. For enclosures under vibration:
- Use PEM® FH series inserts for thin gauges (0.8-1.2mm)
- Specify knurled + serrated nuts for aluminum enclosures
- Add anti-rotation tabs near weld studs
Counterintuitively, placing fasteners near bends weakens them. Maintain distance ≥2x material thickness from bend lines.
Hack #5: Ventilation Patterns That Don’t Warp Panels
Laser-cut ventilation grids look slick until the panel warps from thermal stress. However, alternating staggered rows reduces distortion by 70% compared to aligned arrays :cite[2]. Key parameters:
- Hole diameter ≥ material thickness
- Web thickness ≥ hole diameter
- Perimeter frame width ≥5x hole diameter
Fun fact: Circular holes cut 40% faster than hex patterns with equal airflow.
Hack #6: Tolerancing for Real-World Assembly
±0.005″ tolerances belong in machining, not sheet metal enclosures. Save money with:
- Critical dimensions: ±0.010″ (bracket mounts)
- Non-critical: ±0.030″ (vent locations)
- Bend angles: ±1.5° standard, ±0.5° with premium tooling
Always dimension to intersection points – not virtual sharp corners that vanish after bending.
⚠️ Deadly Design Mistake: Ignoring Coating Thickness
Powder coating adds 0.002-0.008″ per side. If your EMI gasket groove is designed for raw metal, it won’t seat properly after painting. Solution: Widen critical grooves by 2x coating thickness :cite[5].
Material Showdown: Picking Your Metal Muscle
| Material | Best For | Avoid When | Cost Factor |
|---|---|---|---|
| Aluminum 5052 | Lightweight enclosures, saltwater environments | High-torque fastener points | 1.8x CRS |
| Cold Rolled Steel | Shielding-sensitive electronics, structural rigidity | Outdoor use without coating | 1.0x (baseline) |
| Stainless 304 | Medical/food equipment, corrosive atmospheres | Budget projects, tight bend radii | 3.2x CRS |
Your 5-Step Pre-Fab Checklist
- Verify bend reliefs ≥ material thickness
- Remove internal chamfers requiring special tooling
- Annotate critical tolerances (other ±0.030″)
- Confirm hardware clearances for tool access
- Scale back dimensions for coating buildup
FAQs: Solving Real Sheet Metal Enclosure Headaches
Q: How do I add threaded holes near bent edges?
A: Use extruded holes or edge-welded nuts. Standard PEM inserts require ≥3mm flat zone from bend line.
Q: Why do my laser-cut holes have inconsistent diameters?
A: Thermal buildup in dense patterns. Add 5-second “cooling path” pauses in CNC code between clusters.
Q: Best finish for scratch resistance?
A: Powder coating outperforms paint 3:1 in abrasion tests. Specify 60-80μm epoxy-polyester hybrids :cite[10].
Final tip: Partner early with fabricators like CNC Lathe Parts. Their feedback on our drone battery tray eliminated $28k in secondary operations. Smart sheet metal enclosure design isn’t about fancy CAD skills – it’s about mastering the constraints of bending, cutting, and finishing.


